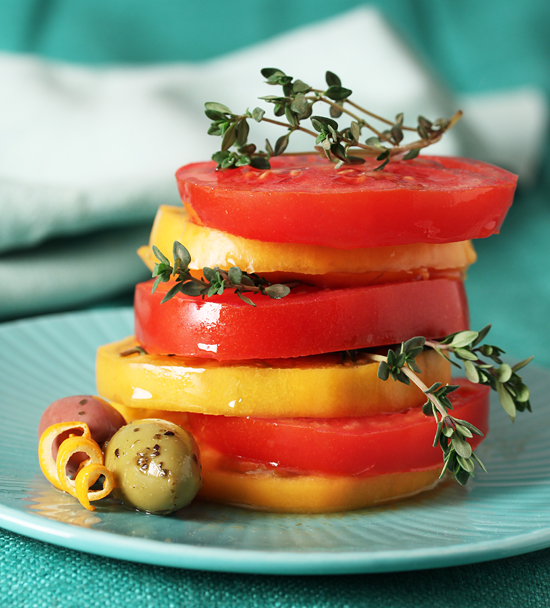
Isn’t this an outrageous photograph? The size? The colors? The sharp focus? This photo is not about a recipe, although you could use the idea for a lovely tomato salad with an herb-y vinaigrette. No, my photo is about the lighting. Studio lighting with two 500W Eiko Photoflood lamps in 20” soft boxes, one pointed at the hero and the other at the ceiling. I was attending the Studio Light Food Photography for Chefs, Food Bloggers and Designers class taught by professional food photographer Christina Peters and prop stylist Amy Paliwoda.
The main goal of the class was to learn how to use tungsten light in food photography. Those Photoflood bulbs are 3200 Kelvin and match up perfectly with your white balance’s little light bulb, which is also 3200K. We learned how to set up the white foam core boards to reflect the light with one 4×8-foot board on each side of the table which, in Christina’s studio, included a white back wall, white floor and white ceiling.
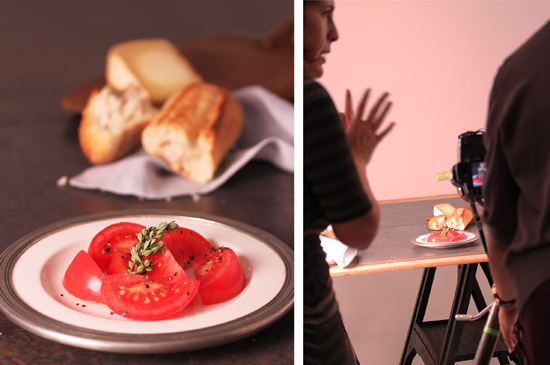
Here you can see the soft box set up next to the table, which is a 3×4-foot piece of plywood sitting on two sawhorses. The hero is sitting on a piece of marble tile. The 500W lamp in the soft box is more than adequate to light the setup.
This is Amy discussing food styling with the student. You can see the setup and a photo I took of it. Once again Amy provided a table full of props for us to choose from and you can see a photo of it in my post about the Natural Light Photography Class that I attended in January.
Christina had two types of lighting setups for us to choose from. On the left is back-lit and on the right is side-lit. I chose the side-lit for my photo. She also showed us how to do the settings on our cameras and the best angle of the camera on the tripod for the best results.
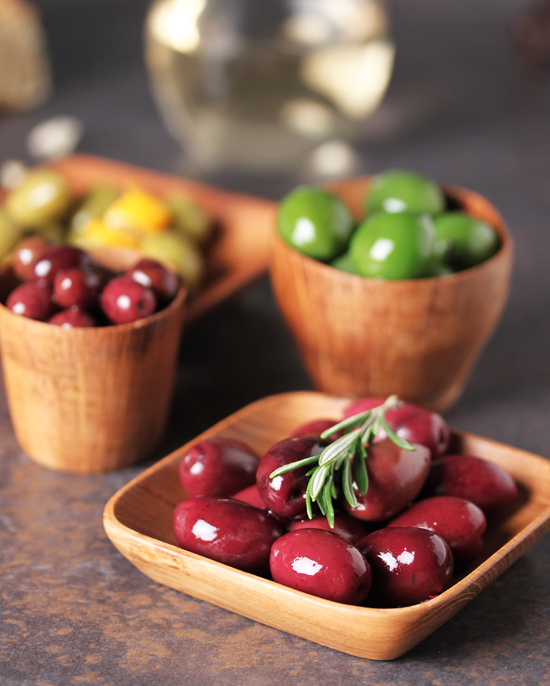
Olives are such a great thing to shoot, with their shine, color and roundness. They give really great reflections. Here you can see the fill-card held up with an A-clamp. I used this for my photo and it was so easy to move around. Christina calls her fill-card “Mr. Phil.” lol.
The class started at 9:30am and ended around 4:30pm. In the morning we did our shoots and in the afternoon, after lunch, which Christina provided, she did a session on how to process our photos with Photoshop. Plus she answered all my dumb questions and Amy gave us a lot of information about where to get props in Los Angeles. Here are a few of the things I learned:
- You can buy the 4×8-foot foam core boards at Sammy’s Photo.
- The paint used to paint a photo studio is Edwards Brand 50/50 Studio White.
- Use Fruit Fresh or Accent powder in water to keep potatoes/apples/etc from browning.
- You can buy fencing boards at Home Depot for your photo surfaces.
- A drop of Kitchen Bouquet in a glass of water looks just like Chardonnay.
- You can make your own cookbook at Blurb.com.
- A place to find cool props is at New Stone Age in Los Angeles.
- I learned how to lighten one area of a photo using the Lasso Tool in Photoshop.
.
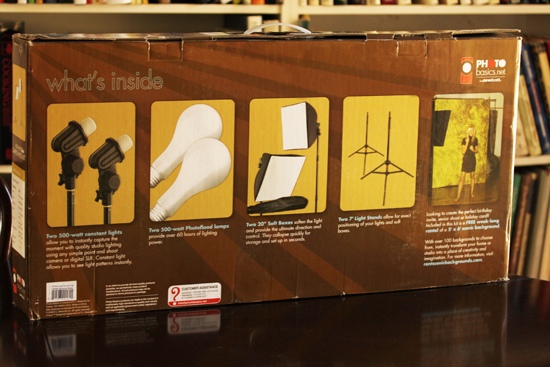
Not only did we learn about shooting with tungsten lamps, but Christina gave us the opportunity to buy the lighting kit at the class, which I did. I’m so excited to set it up and use it. It is a Photobasics .net by Ascott
Please check out the up-coming classes with Christina and Amy at MDR Photography Classes.
Natural Light Food Photography – May 12
Studio Light Food Photography – TBD (get on the list)
The Business of Photography – TBD (get on the list)
Food Styling & Photo Techniques with Denise Vivaldo – June 2 & 3
.
Thank you Christina and Amy for an absolutely fantastic class. Just fabulous!!





![versatilebloggeraward[1]](https://cookandbemerry.com/wp-content/uploads/2010/09/versatilebloggeraward11.jpg)

{ 10 comments… read them below or add one }
Nice post. Food photography is so much easier using studio light. Natural light can be fantastic, but you need a window with the right type of light, and of course you have to shoot in the daylight – no evening photography! And when you use your studio lights right, no one can tell what type of light you used. Nice photos, great post – thanks.
Who are you kidding? The pupil is ready to be the teacher!
Oy do I need a class like this in the worst way! And that kit! I keep meaning to make my own makeshift light box, but I know I don’t have the proper lights. For now I gotta keep bringing my food outside to snap pictures of, haha.
Thanks Lynne for sharing your experience and great information. I loved Christina’s Natural Light class and now I need to sign up for the studio lighting class. Thanks for inspiring me.
“A drop of Kitchen Bouquet in a glass of water looks just like Chardonnay”… but I am far more likely to have Chardonnay around the house than kitchen Bouquet! GREG
I am with Adair on your skills and with Greg on Kitchen Bouquet:) One of these days I’ll attend Christina’s class – I bet she is a wonderful teacher:)
Fun post! Great tips. 🙂
Great post and sounds like some great classes!
I Like it! Thank you for Tips! this coming sunday i’ll shoot 30 food menu… thank you!
Two years later, but still a great post – very informative! I should have taken this class years ago and am finally taking the leap 🙂